Welcome, crafters and textile enthusiasts! Have you ever bought a beautiful skein or hank of yarn, only to find it a bit intimidating to start working with? Unlike the convenient pull-skeins or ready-made balls you often see, hanks require a little preparation. This guide dives into the simple, almost meditative craft of turning that lovely loop of yarn into a neat, usable yarn ball by hand. Learning how to hand wind a ball is a fundamental skill that prevents frustrating tangles, ensures your yarn flows smoothly for knit or crochet projects, and allows you to inspect the yarn quality before you begin. Whether you’re a hobbyist looking for top posts on DIY crafts or a procurement officer like Mark Thompson seeking efficiency in handling bulk yarn, understanding this process is invaluable. Let’s get started on making yarn balls!
Understanding Your Yarn: What’s the Difference Between a Skein, a Hank, and a Ball?
Before we dive into the how-to, let’s clarify some common terms you’ll encounter. Yarn comes in various forms, and knowing the difference is key. A ball of yarn is perhaps the most recognized form – a simple sphere or ovoid shape where the yarn is wound around itself. You typically pull the yarn from the outside. Some commercially wound balls are designed as center-pull balls, meaning you can pull the strand from the inside, which keeps the ball from rolling around as you work.
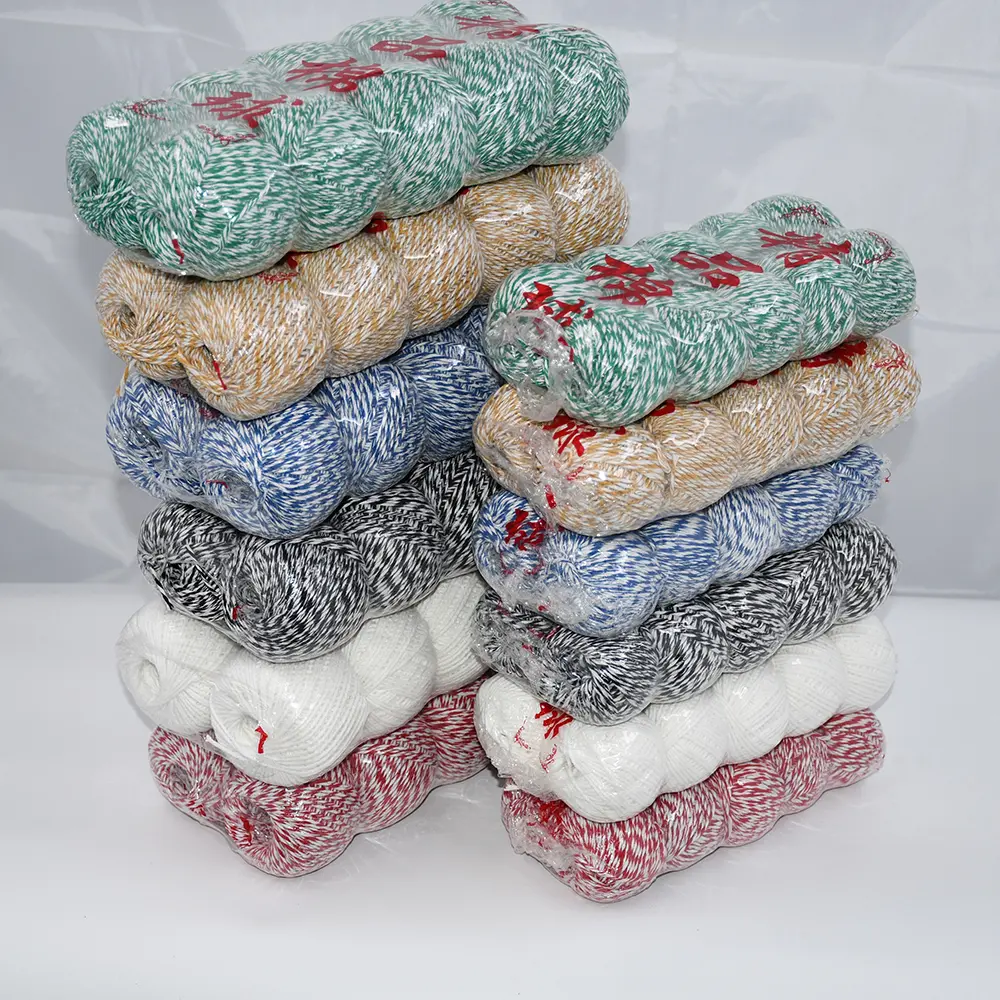
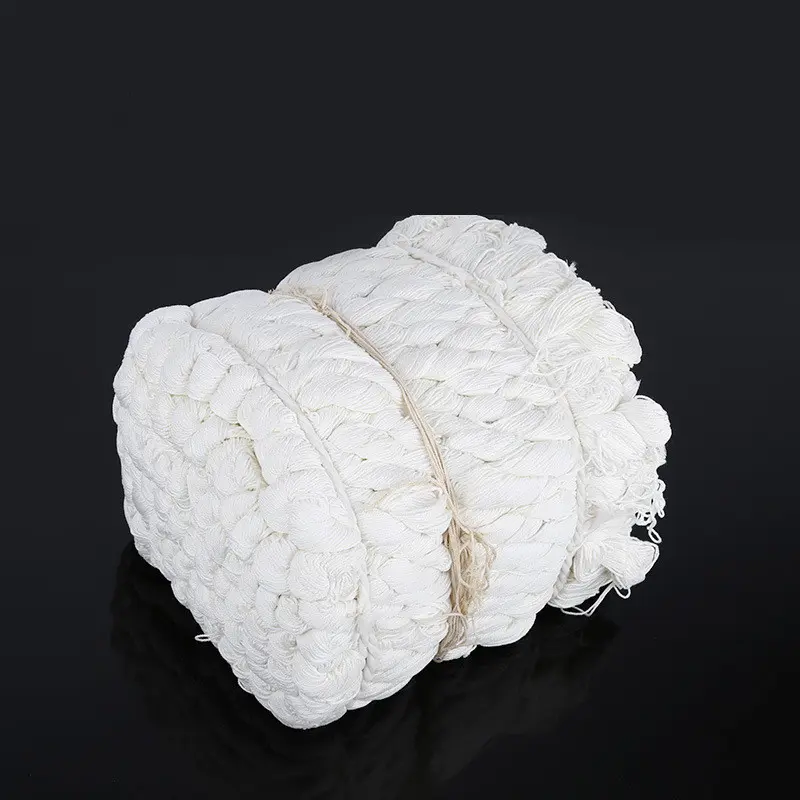
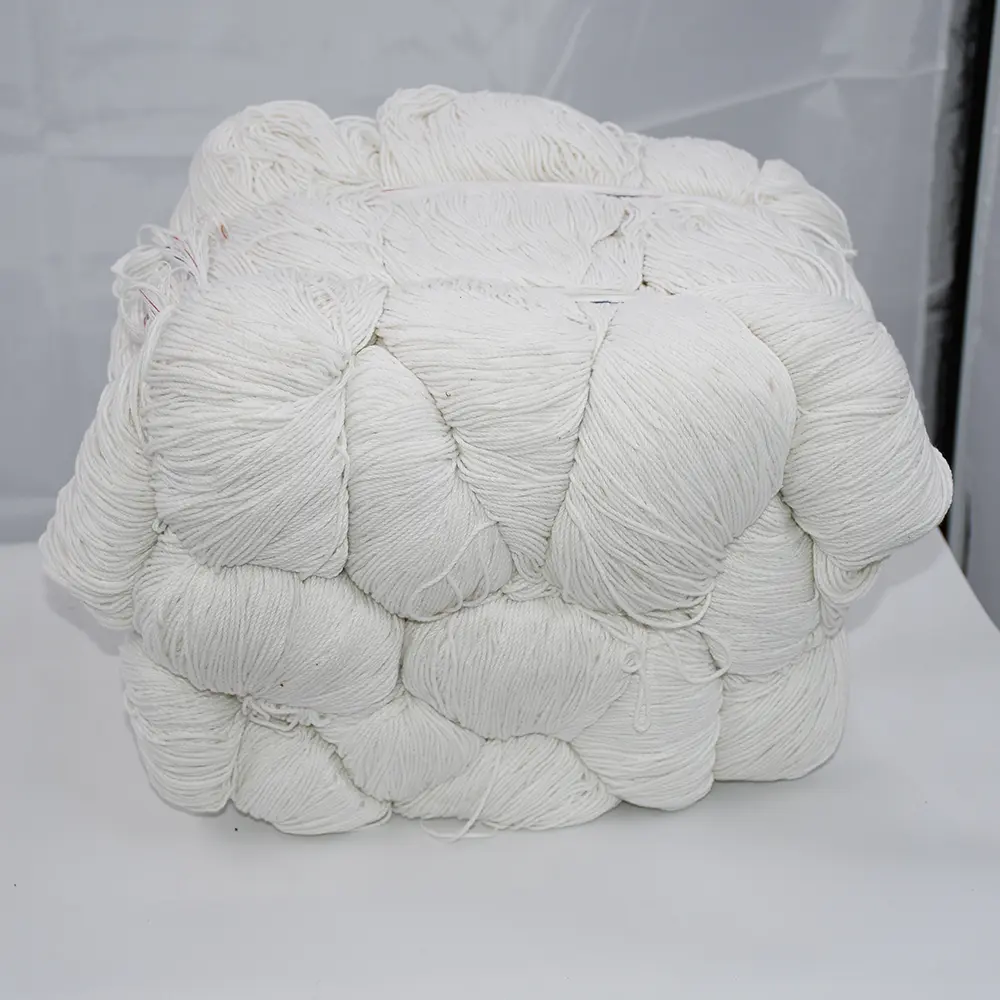
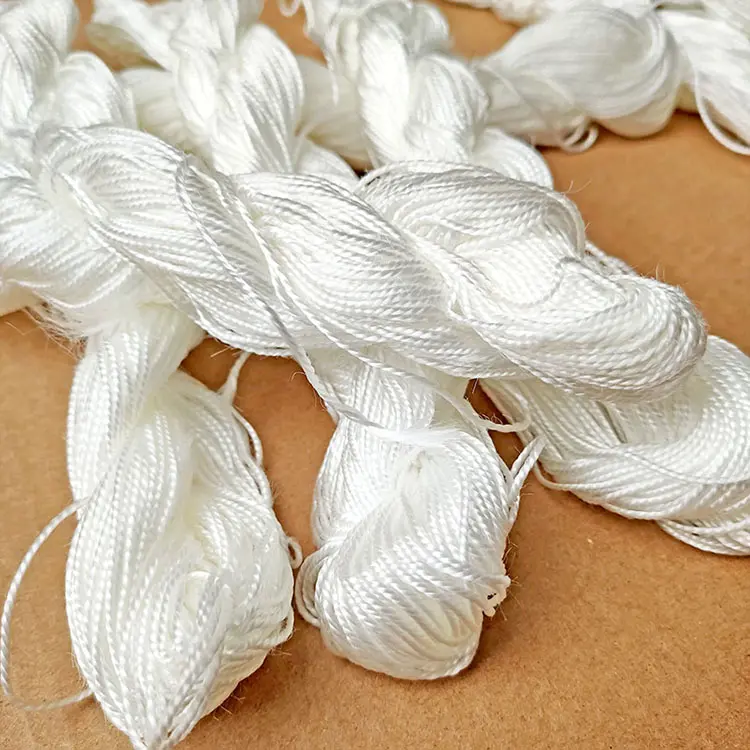
A skein often refers to a shape where the yarn is wound into an oblong shape, and you can usually pull the yarn from the centre or the outside. These are common in craft stores. However, the term skein is sometimes used interchangeably with hank, especially in informal settings. A hank (or skein of yarn in this context) is a large loop of yarn, twisted and folded upon itself for dyeing, shipping, and display. It must be wound into a ball or onto a cone before use. Attempting to knit or crochet directly from a hank will inevitably lead to a massive tangle.
Understanding these differences is crucial, especially for businesses like Mark Thompson’s that purchase large quantities. Receiving yarn in hanks often means better pricing or specific dye lots but requires the extra step to wind it into a ball or onto cones for production machinery or efficient crafting. Knowing you have a hank versus a ready-to-use skein or ball sets the right expectation for preparation.

Why Should I Bother Making Yarn Balls from Skeins?
It might seem like an extra chore, right? Why not just buy yarn already in a convenient ball? Well, there are several excellent reasons for making yarn balls from hanks or skeins. Firstly, many artisan, hand-dyed, or luxury yarns (like fine wool or silk blends) are sold exclusively in hanks. This format is better for dyeing, washing, and showcasing the full colorway and texture. If you want to use these special yarns, winding is non-negotiable.
Secondly, winding your yarn allows you to inspect it thoroughly before starting your project. As you wind, you can check for knots (other than the ones holding the hank together), weak spots, inconsistencies in thickness, or dye variations. For manufacturers, this quality control step is vital to prevent issues later in production. Finding a flaw while winding is much less disruptive than discovering it mid-row when you knit or crochet.
Finally, a well-wound ball, especially a center-pull ball, makes the actual crafting process much smoother. The yarn feeds evenly, reducing tension issues, and the ball stays put instead of rolling off the table. It prevents the dreaded "yarn barf"—that sudden tangled clump that can emerge from a poorly wound commercial skein. Taking 10-15 minutes to wind your yarn can save hours of frustration later. It transforms the potentially messy hank of yarn into a tidy, ready-to-use format.
What Tools Do I Need to Wind a Ball by Hand? (Spoiler: Not Many!)
The beauty of learning how to hand wind a ball is its simplicity. You don’t need fancy equipment, though some tools can make it faster. At its most basic, all you really need are:
- Your Hands: Specifically, your thumb and fingers will act as the core and guide for the yarn.
- A Pair of Scissors: You’ll need these to snip the ties holding the hank together.
- Something (or Someone) to Hold the Hank: This is crucial to prevent the hank from collapsing into a tangle as you unwind it. We’ll explore options in the next section.
That’s it! However, if you wind yarn frequently or work with large quantities, you might consider investing in:
- Yarn Swift: An umbrella-like or squirrel-cage device that holds the open hank of yarn taut and rotates as you pull the yarn. This replaces the need for chair backs or a helpful friend. A swift is incredibly helpful for keeping the yarn orderly.
- Ball Winder: A mechanical device, often hand-cranked, that winds the yarn into a neat, flat-bottomed "cake." Using a winder is much faster than winding ball by hand and typically creates a center-pull cake.
| Tool | Purpose | Necessity | Benefit |
|---|---|---|---|
| Hands | Core, guide, tension control | Essential | Always available! |
| Scissors | Cutting ties on the hank | Essential | Cleanly releases the yarn loop |
| Hank Holder | Keeps the loop open and untangled | Essential | Prevents massive tangles |
| Yarn Swift | Holds hank and rotates smoothly | Optional | Faster, more even unwinding, hands-free |
| Ball Winder | Winds yarn into a center-pull cake | Optional | Very fast, creates neat stackable cakes |
For this tutorial, we’ll focus primarily on the minimal-tool, hand wind a ball method. But it’s good to know these other tools exist, especially for businesses handling significant yarn volumes.

Preparing the Battlefield: How to Properly Open and Set Up Your Skein of Yarn
This step is arguably the most critical in preventing a yarn catastrophe. Before you even think about starting to wind, you must carefully prepare the hank (or skein of yarn sold as a loop). Rushing this can lead to a tangled mess that takes hours to fix.
- Locate the Ends: Gently examine the twisted hank. You should find the two ends of the yarn somewhere, often tied loosely around the hank or tucked in. Don’t untie them just yet.
- Carefully Untwist: Hanks are usually twisted into a pretzel shape for stability. Carefully untwist it to reveal a large, continuous loop of yarn.
- Find the Ties: Look for several small ties (usually made of scrap yarn or piece of string) holding the loop together at various points. These prevent the yarn from tangling during dyeing and transport. There might be 2, 3, or even more.
- Drape the Loop: This is where your hank holder comes in. Drape the entire loop of yarn over something smooth and stable before cutting any ties. Options include:
- The back of a smooth chair (or two chairs placed back-to-back).
- Your own knees (if you can sit comfortably like that for a while).
- A willing friend’s outstretched hands.
- A dedicated yarn swift.
The goal is to keep the loop open and under slight tension so it doesn’t collapse on itself as you wind. Put the skein securely on your chosen holder.
- Snip the Ties: Once the yarn loop is securely draped, use your pair of scissors to carefully snip only the small ties holding the strands together. Do NOT cut the main yarn! Remove the cut tie pieces.
- Identify the Starting End: Find one of the main yarn ends. This is where you’ll begin winding from. The other end will remain loose until the very end of the process.
Now your skein of yarn is properly set up, untangled, and ready for you to start wrapping it into a ball. Taking these preparatory steps seriously is the secret to a smooth winding the yarn experience.
The Center-Pull Method: How to Hand Wind a Ball for Easy Use
One of the most popular ways to hand wind a ball is to create a center-pull ball (often called a yarn cake if flatter). This method allows you to pull the yarn from the centre of the ball while you knit or crochet, keeping the ball stable and preventing it from rolling away. It’s a nifty technique that’s easy to learn.
The core idea is to create a small starting bundle and then wrap the yarn around it diagonally, rotating the nascent ball frequently. This builds up layers that allow the starting end (which you’ll leave accessible) to be pulled out from the middle without disturbing the rest of the ball. It might feel awkward at first, but you’ll quickly get the rhythm.
This method contrasts with the traditional way of winding where you just wrap yarn around a central core (like your fingers) in a more spherical way, typically resulting in a ball where you pull the yarn from the outside. While both methods work, the center-pull technique is often preferred by crafters for its convenience during use. It’s particularly useful if you don’t have a yarn bowl to keep an outside-pull ball contained.
Step-by-Step: Winding the Perfect Center-Pull Yarn Ball
Ready to wind? Here’s a step-by-step guide to creating that coveted center-pull ball by hand:
- The Start: Take the end of the yarn you identified from your prepared hank. Leave a tail of about 6-8 inches hanging free – this will be your center pull end.
- Wrap Your Fingers: Loosely wrap the yarn around two or three fingers (or your thumb) about 10-15 times to create a small, flat bundle. Don’t pull the yarn too tight, or you’ll struggle to get it off your fingers and might stretch the yarn.
- Remove and Fold: Carefully slide the bundle off your fingers. Fold this little bundle in half. This small folded piece forms the initial centre of your ball.
- Secure the Centre: Hold the yarn bundle firmly between your thumb and forefinger. Now, take the working yarn (coming from the hank) and wrap it perpendicularly around the middle of the folded bundle several times to secure it. You should have a small, figure-eight-like shape.
- Start Diagonal Wrapping: This is the key part. Begin wrapping the yarn diagonally around the center bundle. Wrap a few times in one diagonal direction.
- Rotate: Give the nascent ball a quarter turn (rotate it 90 degrees) in your hand.
- Wrap Again: Wrap the yarn diagonally again, across the new angle.
- Continue Wrapping and Rotating: Keep wrapping the yarn diagonally and rotating the ball slightly after every few wraps. This builds up the ball evenly and creates the structure for the center pull. Try to maintain gentle, even tension – not too tight, not too loose. Pull the working yarn smoothly from the hank on its holder (swift, chair, etc.).
- Form the Ball: As you continue wrapping and rotating, a ball shape (often slightly flattened, like a cake) will start to form a ball. Maintain the diagonal wrapping pattern.
- Finishing: When you reach the end of the yarn from the hank, tuck the final end securely under a few of the outer wraps on the surface of the ball. Do not tie a knot.
- Retrieve the Center Pull: Gently find the initial 6-8 inch tail you left at the beginning. This should pull smoothly from the centre of your completed ball. You now have a beautiful, functional center-pull yarn ball!
This process takes practice, but soon you’ll be winding yarn balls like a pro!

Alternative Technique: How to Wind a Traditional Yarn Ball by Hand
If the center-pull method feels tricky, or if you simply prefer a classic round ball, the traditional method is even simpler. This creates a ball where you’ll pull the yarn from the outside.
- The Start: Take the end of the yarn from the prepared hank.
- Wrap Your Fingers: Wrap the yarn around two or three fingers several times (maybe 15-20 wraps) to create a starting core. Keep the tension relaxed.
- Remove and Secure: Slide the yarn loops off your fingers. Pinch the yarn loops together in the middle. Take the working yarn and wrap it firmly around the middle of these loops several times to secure them into a small bundle. This bundle is your core.
- Start Wrapping: Now, simply begin wrapping the working yarn around this core bundle. Try to wrap evenly, rotating the bundle frequently in your hand as you go. Unlike the diagonal wrapping of the center-pull method, you’re aiming for a more rounded ball shape.
- Build the Ball: Continue wrapping the yarn around the growing ball. Rotate the ball often and change the angle of your wrapping to keep it roughly spherical. Maintain an even, gentle tension.
- Finishing: When you reach the end of the yarn, tuck the tail securely under several wraps on the outside of the ball. Avoid making a tight knot.
This method results in a classic ball of yarn. When you use the yarn, the ball will roll around as the yarn unwinds from the outside. You might want to place it in a yarn bowl or a small basket while you work to keep it contained. It’s a perfectly good way to wind yarn, especially for thicker or fuzzy yarns where a center pull might be more difficult to manage.
Troubleshooting Common Problems: Avoiding Tangles and Lumps When You Wrap
Even with careful preparation, you might encounter a few hiccups while you wind your yarn ball. Here are some common issues and how to fix them:
- The Hank Tangles While Unwinding: This usually happens if the hank wasn’t draped properly or if you pull the yarn too quickly or unevenly.
- Solution: Stop winding immediately! Gently check if the loop has slipped off its holder or if strands have crossed over each other. Slowly work out the tangle before continuing. Ensure the yarn unwinds smoothly from the swift or chair back. Using a proper yarn swift greatly minimizes this risk.
- The Ball is Lumpy or Uneven: This often results from inconsistent tension or not rotating the ball enough as you wrap.
- Solution: Try to maintain steady, gentle tension. Don’t wrap too tightly in one section and loosely in another. Rotate the ball frequently and vary the angle of your wraps, especially for the center-pull method (consistent diagonal wrapping and turning) or the traditional method (random but frequent turning).
- The Center Pull Won’t Pull Out/Gets Stuck: This can happen if you wrapped the initial core too tightly or if the starting tail got accidentally wrapped over too securely.
- Solution: Try gently wiggling the centre tail. If it’s truly stuck, you might have to unwind a portion of the ball carefully until you free it, then rewind that section. Sometimes, if the centre pull is impossible, you can just use the ball by pulling from the outside instead. Ensure you leave a long enough starting tail (6-8 inches) next time.
- Winding Too Tightly: Wrapping the yarn very tightly can stretch the fibers, especially with elastic yarns like wool. This can affect your gauge when knitting or crocheting.
- Solution: Focus on a relaxed, even tension. The yarn should lie snugly on the ball but not be stretched taut. Let the yarn glide through your fingers rather than pulling hard against it.
Practice makes perfect! Don’t be discouraged if your first few hand-wound balls aren’t flawless. You’ll quickly develop a feel for the right tension and rhythm. Remember, the goal is a usable ball that prevents tangles, not necessarily a machine-perfect cake.
Can I Wind Yarn Without Any Special Tools At All? (Yes!)
Absolutely! While a swift and ball winder make the process faster and often neater, they are by no means essential for making yarn balls. The core requirements are just your hands, scissors, and a way to hold the hank.
As mentioned earlier, you can easily drape the skein of yarn over:
- The back of a chair (or two chairs).
- Your own knees (if you’re sitting comfortably).
- A willing friend or family member’s hands.
- Even a large, smooth lampshade base or a coat rack (ensure it’s clean and won’t snag the yarn).
The key is that the holder keeps the loop open and allows the yarn to unwind without catching or tangling. You’ll be providing the winding action entirely with your hands, using either the center-pull or traditional ball method described above. It takes a bit longer than using a winder, but it’s completely achievable and connects you more closely with your materials. For many crafters, the slow, rhythmic process of winding yarn ball by hand is part of the enjoyment of the craft. So, don’t pull back if you lack fancy gadgets – you can definitely wind yarn without them!
Beyond Winding: Does the Type of Yarn Affect the Process?
Yes, the characteristics of the yarn itself can influence the winding process and the resulting ball.
- Slippery Yarns: Silks, bamboo, or mercerized cottons can be slippery. They might try to slide off your fingers more easily when starting the core, and the finished ball might be less stable. Wrap the initial core securely and maintain consistent tension. A ball winder often handles these well, creating a denser cake. Consider using high-quality cotton yarn which, while smooth, often has enough texture to wind well by hand.
- Splitty Yarns: Some loosely plied yarns can split easily during winding or use. Wind gently and try not to catch individual plies. A center-pull ball can sometimes exacerbate splitting if the pull isn’t smooth.
- Fuzzy or Textured Yarns: Mohair, boucle, or other novelty yarn types can be challenging. Their texture can make it hard to see the structure as you wind, and fibers can catch or snag. Wind these loosely and carefully. A traditional, outside-pull ball might be easier to manage than a center-pull, as pulling from the centre can sometimes catch fluffy fibers. Using robust yarns like durable polyester yarn often presents fewer issues.
- Elastic Yarns: Wool and other yarns with natural elasticity should not be wound too tightly, as this can stretch them out permanently, affecting your gauge. Keep a light, relaxed tension.
- Thick Yarns: Bulky or super-bulky yarns create large balls quickly! You might need to adjust your hand position as the ball grows. The principles remain the same, but the scale changes.
While the basic techniques work for most yarns, paying attention to the fiber’s behavior will help you adapt your tension and method for the best results. If dealing with large quantities or various types, investing in good quality yarn from reliable suppliers, perhaps even considering options like polypropylene yarn for specific projects, ensures consistency which simplifies winding and usage.
The Advantages for Crafters and Businesses Alike: Keep Wrapping!
The simple act of winding a skein into a ball offers tangible benefits for both individual crafters and larger textile businesses. For the hobbyist, it’s about preparation, quality control, and enhancing the crafting experience. A ready-to-use ball prevents tangles, allows for smooth stitching, and lets you inspect the beautiful yarn you’re about to transform. It’s a mindful step that connects you to your materials before the main project begins.
For businesses like Mark Thompson’s, efficiency and quality are paramount. Winding yarn from hanks might be an operational necessity if sourcing specific types or colors, or if purchasing bulk yarn that’s typically supplied in this format.
- Quality Control: Winding allows for inspection, catching flaws like knots or inconsistencies before they enter the production line, saving time and material waste. Consistent yarn quality is a major concern, and this step helps verify it.
- Improved Workflow: Properly wound balls or cones feed smoothly into knitting machines or allow production staff to work without interruption from tangles, reducing downtime.
- Storage: Wound balls or cakes are often easier and tidier to store than loose hanks. Yarn cakes made on a ball winder are stackable.
- Versatility: Allows businesses to purchase yarn in the most cost-effective format (hanks) and prepare it as needed for various processes.
Whether by hand for smaller batches or using industrial winders for large scale operations, transforming hanks into usable formats is a crucial step in the textile supply chain. It ensures the yarn is ready for its ultimate purpose, minimizing frustration and maximizing efficiency. Don’t underestimate the power of a well-wound ball of yarn!
Where to Find Quality Yarn for Your Next Project?
Finding the right yarn is just as important as knowing how to prepare it. Whether you need yarn for a personal knit project, crochet items, or large-scale manufacturing, sourcing from a reliable supplier is key. Look for suppliers who offer consistency in dye lots, accurate fiber content, and good tensile strength – factors crucial for both crafters and businesses concerned about quality, like Mark Thompson.
As a manufacturer and supplier based in China, we specialize in a variety of textile yarns and threads. We understand the importance of quality materials for achieving great results. Our range includes:
- Polyester Yarn: Durable and versatile, available in various counts and finishes, often supplied in formats like polyester yarn in hanks.
- Cotton Yarn: Soft and breathable, perfect for garments and home textiles. Explore options like our high-quality cotton yarn.
- Polypropylene Yarn: Strong and resistant, suitable for industrial applications, ropes, and outdoor gear.
- Yarn Balls: For ultimate convenience, we also offer pre-wound yarn balls, saving you the winding step altogether.
We cater to B2B clients across the USA, North America, Europe, and Australia, ensuring reliable logistics and communication. Attending exhibitions is a great way to connect, but exploring options online provides a direct line to understanding product offerings. Whether you’re using the yarn for intricate lacework or heavy-duty applications, starting with quality material makes all the difference.

Key Takeaways: Winding Yarn Balls by Hand
Winding a skein or hank into a ball is a valuable skill. Here’s a quick summary:
- Know Your Yarn: Understand the difference between a hank (must be wound), skein (often usable directly), and ball.
- Preparation is Crucial: Always carefully untwist the hank and drape it over a holder (chair, swift, knees) before cutting the ties to prevent tangles.
- Minimal Tools Needed: You only truly need your hands, scissors, and a hank holder to wind a ball by hand.
- Center-Pull Method: Involves wrapping diagonally around a small starting core while rotating the ball, allowing yarn to be pulled from the centre.
- Traditional Method: Involves wrapping yarn around a core in a more spherical manner, creating a ball that unwinds from the outside.
- Consistency Matters: Maintain even, gentle tension and rotate the ball frequently for a neat result. Don’t wind too tightly, especially with elastic yarns.
- Benefits: Winding allows inspection for flaws, prevents tangles during use, makes storage easier, and is necessary for using yarn sold in hanks.
- Yarn Type Affects Winding: Adapt your technique slightly for slippery, fuzzy, or elastic yarns.
- Quality Source: Start with good quality yarn from a reliable supplier for the best winding and crafting experience.
Happy winding! May your yarn balls be neat and your projects tangle-free.


